Inside Our Avalanche Level 1 Course: An Instructor’s View from the Classroom to the Field
- Anju
- Dec 31, 2025
- 4 min read
When students arrive for our Avalanche Level 1 course in Cooke City or Red Lodge, I can usually sense a mix of excitement and uncertainty. That’s exactly where learning begins. Over three days, we move intentionally from classroom concepts to real-world application, building the skills needed to make thoughtful, informed decisions in avalanche terrain.
Here’s how I guide students through the course — and what I want them to walk away with.

Friday: Building the Foundation — How Avalanches Form and Why They Matter
Morning Classroom Session
We begin Friday morning with introductions and a clear outline of our goals. I want students to understand right away that this course isn’t about fear — it’s about awareness, process, and good decision-making.
Our first discussion centers on a realistic avalanche scenario. Rather than presenting answers, I ask questions. What information would you want? What decisions matter most early in the day? This sets the tone for the entire course: learning to think critically before stepping into avalanche terrain.
From there, we break avalanches down to their essentials:
The recipe for an avalanche — terrain, snowpack, and weather
The anatomy of an avalanche and the seven avalanche problems
How to identify avalanche terrain and recognize where avalanches start, run, and pile up
We spend time on snowpack formation, focusing on how weak layers develop at the surface and persist over time, and how weather builds slabs, stresses the snowpack, and creates changing avalanche problems. These concepts form the backbone of every decision students will make in the field.
Before heading outside, we walk through tour planning for Saturday’s full field day. This is where students begin applying what they’ve learned — interpreting forecasts, identifying avalanche problems, and matching terrain choices to conditions.
Afternoon Field Session
In the afternoon, we transition to the field at the Cooke City Beacon Park. This is where abstract concepts become real.
The learning objective here is simple but critical:
Become efficient and confident with avalanche rescue equipment
Students practice beacon use, signal searches, and shoveling techniques. I emphasize that rescue skills are essential — but avoiding avalanches through smart decisions is the real goal. We wrap up the day with students already seeing the mountains differently than they did that morning.
Saturday: Full Immersion — Applying Skills in Real Terrain
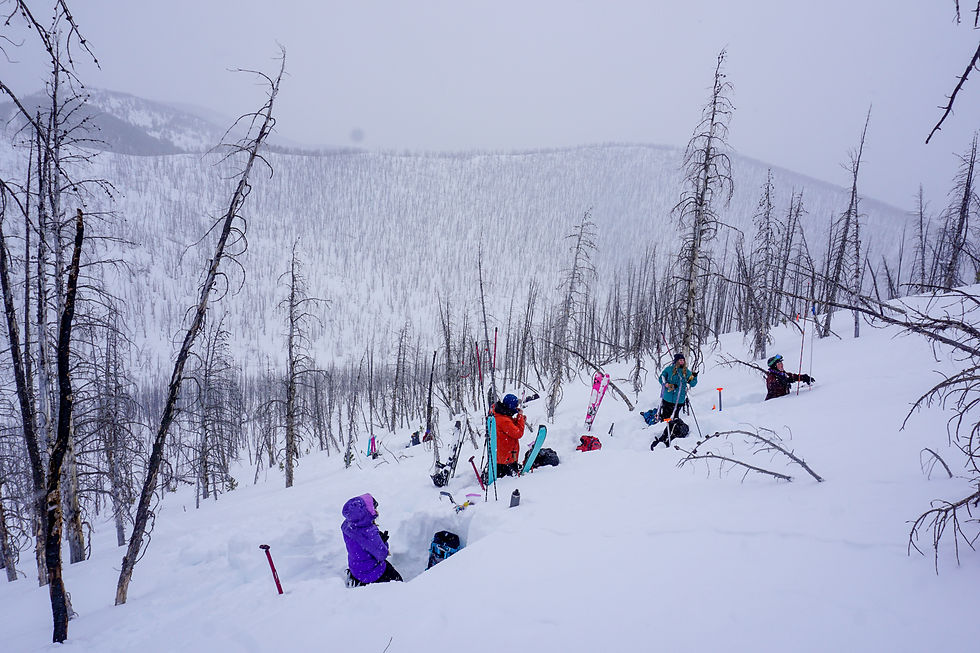
Saturday is spent entirely in the field, and it’s often the day when everything starts to connect. Whether it be Cooke City or Red Lodge, we're lucky enough to be close to real mountain terrain and either clip in to skis from our doorstep or drive 10 mins within Red Lodge.
After a beacon function check in the morning, we move through terrain deliberately, stopping often to observe and discuss. Throughout the day, students practice:
Informal and formal stability tests
Ongoing snowpack and avalanche observations
Route finding and safe travel protocols
Group management, spacing, and communication
The learning objective for Saturday is application:
Translate forecasts and observations into terrain decisions
Learn to travel efficiently while managing risk
Read the snowpack, the terrain and the weather
I rotate leadership roles so students experience what it’s like to be responsible for the plan — and to adapt when conditions don’t match expectations.
Sunday: Decision-Making, Human Factors, and Putting It All Together
Morning Field Session
Sunday morning begins with a beacon check and quickly moves into higher-level terrain assessment and decision-making. By now, students are expected to take more ownership — evaluating terrain, discussing snowpack observations, and justifying their choices.
The goal is confidence through process:
Assess terrain and consequences
Identify uncertainty and red flags
Make decisions with incomplete information
Afternoon Classroom Session
Back in the classroom, we revisit the science behind what we’ve been seeing in the field — snow behavior, avalanche mechanics, and trigger points. With real observations fresh in mind, these concepts land differently.
We then spend significant time on the Human Factor — how familiarity, social pressure, commitment, and assumptions influence our decisions. This discussion is often one of the most impactful moments of the course. Students begin to recognize that many avalanche accidents are not failures of knowledge, but failures of judgement, communication and personal expectations.
We close with practical tools:
Backcountry decision-making frameworks
A skier’s checklist for planning and travel
Scenario-based discussions that challenge assumptions
The course ends with a formal debrief, giving students space to reflect on what they’ve learned and how they’ll apply it going forward.
What I Want Students to Leave With
Avalanche Level 1 is not about eliminating risk — it’s about managing it intentionally.
By the end of the course, my goal is for students to:
Understand how avalanches form and why conditions change
Recognize avalanche terrain and its consequences
Use forecasts, observations, and checklists to guide decisions
Communicate clearly with partners and speak up when something feels off
Most importantly, I want students to leave knowing that avalanche education doesn’t end here. Every tour is an opportunity to observe, learn, and refine decision-making.
As an instructor, watching that shift — from uncertainty to awareness — is what makes this course meaningful. That’s what Avalanche Level 1 is designed to deliver.
Want to learn more about or Avalanche Training? Click Here.
Comments